How to Work with Shopify: A Beginner’s Guide to Building Your Online Store

Shopify

When it comes to launching an internet business, Shopify is among the most dependable and straightforward platforms. Shopify provides all the tools you need to create, run, and expand your online store, regardless of whether you’re selling tangible goods, digital downloads, or services. However, how precisely do you use Shopify? Let’s dissect it in detail.

1. Sign Up and Choose Your Plan

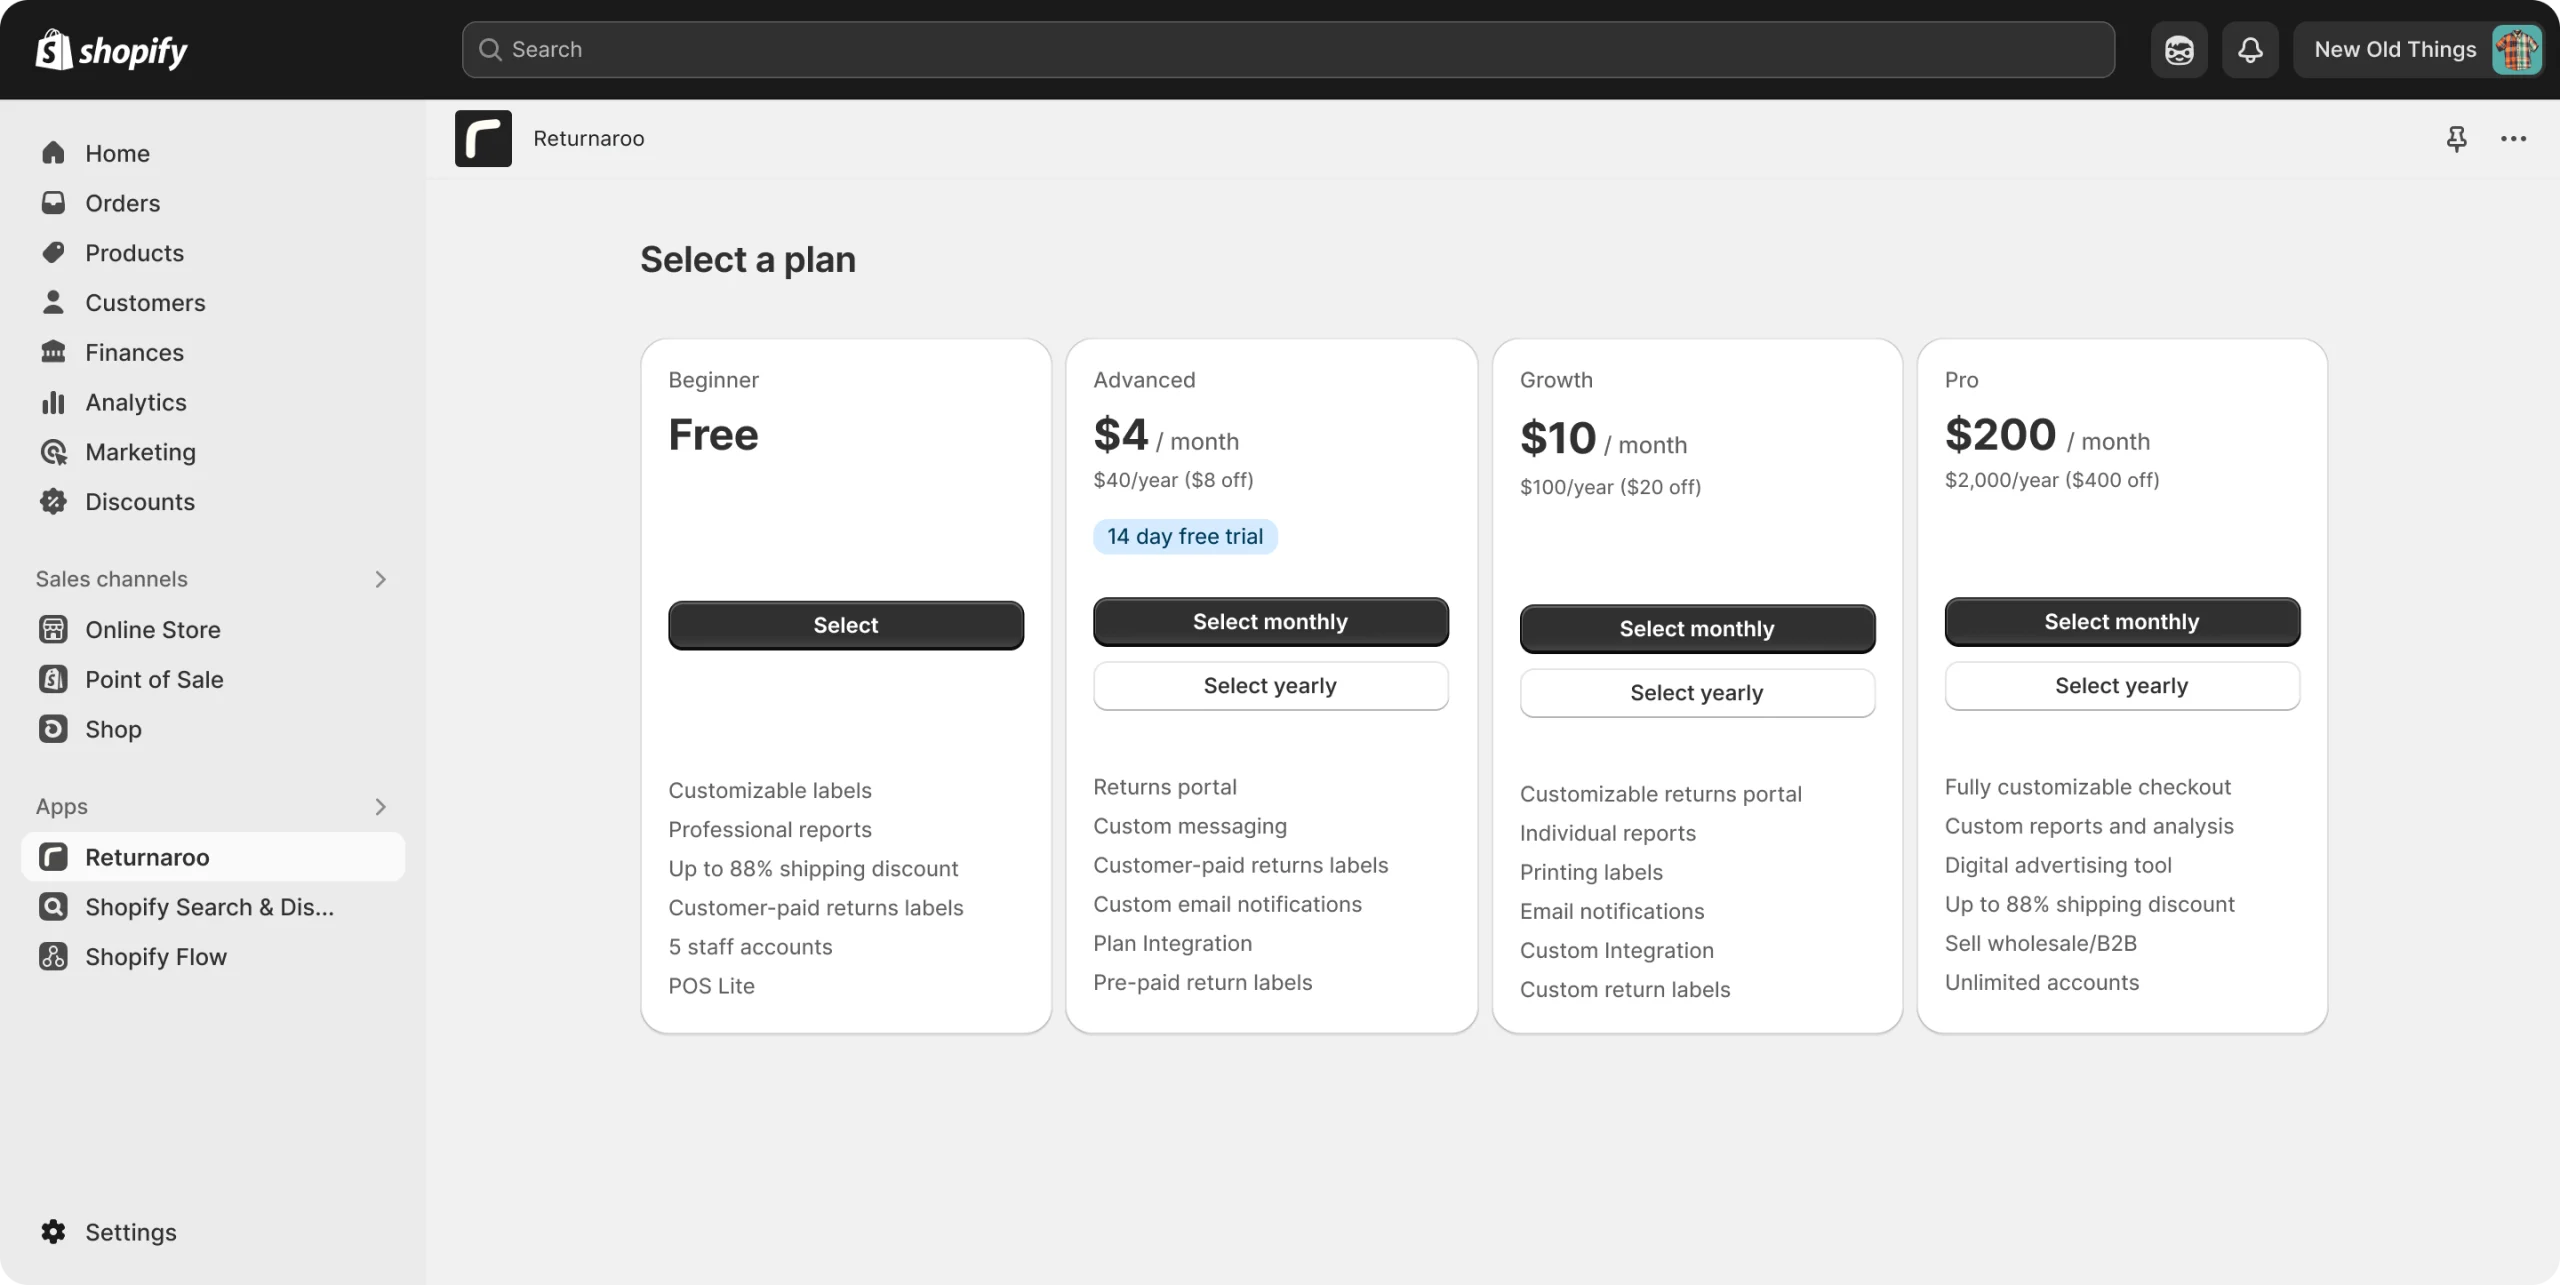
To begin, click “Start Free Trial” on Shopify.com. After entering your email address, password, and store name, you will be prompted to create an account. You may test out Shopify for three days for free after you sign up.

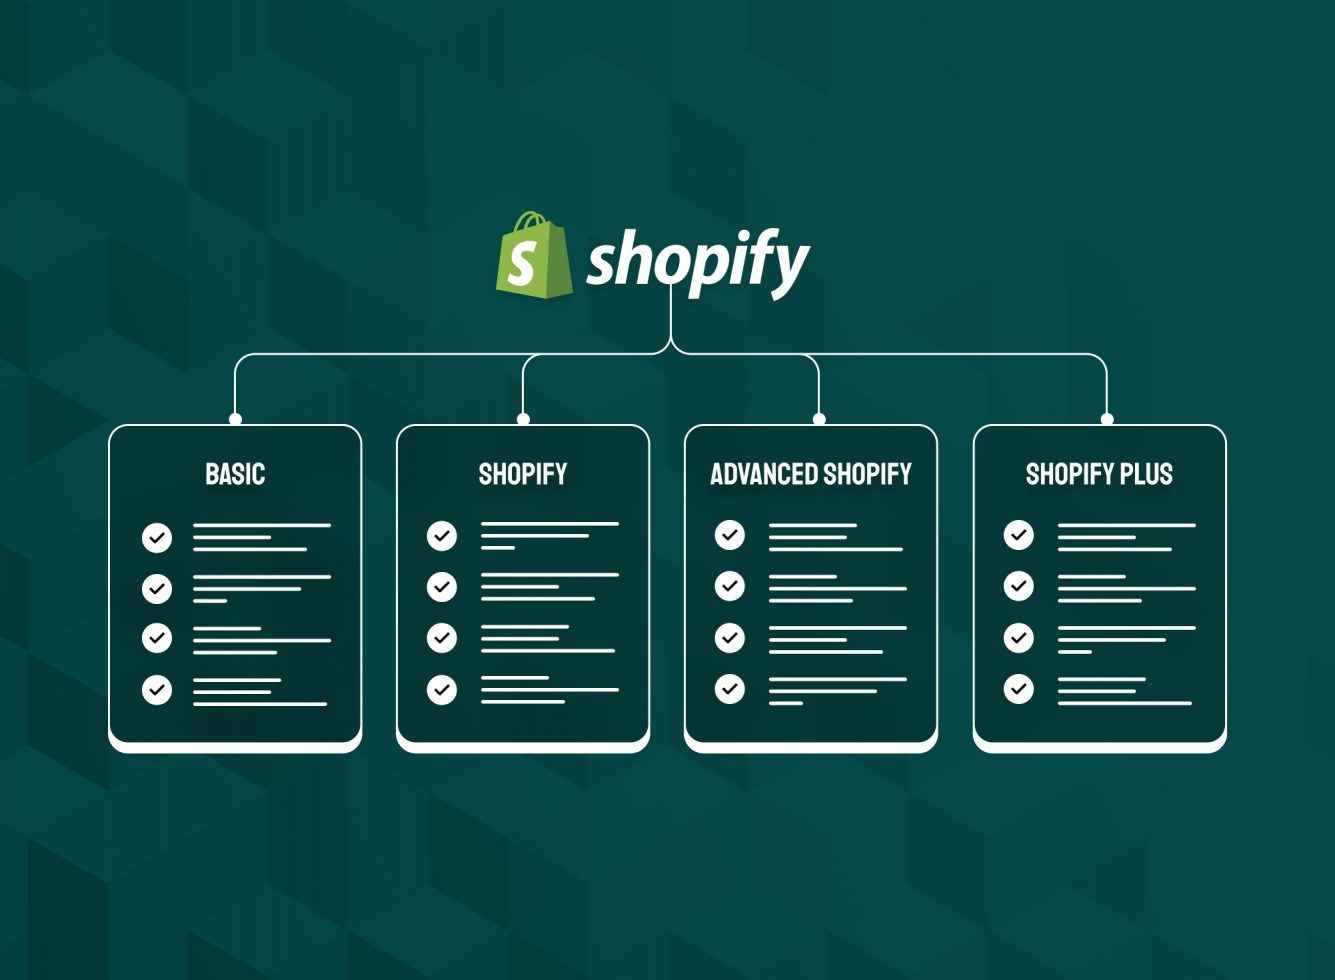
You will have to decide on a plan following the trial. A website, blog, product listings, and access to Shopify’s app store are just a few of the important tools that come with the Basic plan, which is ideal for starting businesses.

Sign Up and Choose Your Plan

2. Pick a Theme and Customize Your Store

The appearance and feel of your store are important, and Shopify makes it simple with a range of free and premium themes. Visit Online Store > Themes and look through their collection. Select a theme that reflects the aesthetic of your brand, whether it be bold, minimalist, modern, or whimsical.

On “Customize,” the theme editor will open. You can alter the header and footer settings, navigation menus, banners and slideshows, colors and fonts, and homepage layout. Since everything is drag-and-drop or form-based, you don’t need to know how to code.

Pick a Theme and Customize Your Store

3. Add Your Products

It’s time to stock your store now! Click Add product in the Products section. What you will add is as follows: Headline: The product’s name, emphasize the salient features and advantages. Images: Make use of excellent product Photographs, Pricing: Decide on a selling price. Inventory: Keep tabs on stock (for tangible goods), Shipping: If necessary, include dimensions or weight.

Uncheck the “This is a physical product” box and utilize the free Digital Downloads app to distribute files instantly after a purchase if you’re selling digital goods (such as PDFs or videos).

4. Set Up Payments and Shipping

Select your method by going to Settings > Payments. The simplest choice is Shopify Payments, which enables you to take credit and debit cards without incurring any costs from third parties. Additionally, you can enable manual payments like cash on delivery or bank deposits, as well as PayPal, Apple Pay, and Google Pay.

To configure zones, charges (flat, free, or carrier-calculated), and handling times for shipping, select Settings > Shipping and Delivery. If you cater to a certain area, you can additionally provide local delivery or pickup choices.

Set Up Payments and Shipping

5. Buy a Domain and Launch Your Store

Your store needs a custom domain to look professional. You can buy one directly through Shopify or connect an existing domain. A good domain should be short, brandable, and easy to remember.

Once your domain is set, go to Online Store > Preferences and remove the password protection. Your store is now live to the world!

6. Promote and Grow Your Store

Launching is just the beginning. Make use of Shopify’s integrated marketing capabilities to draw in and keep clients. The following are some tactics:

  • Social Media Integration: Make sales on TikTok, Instagram, and Facebook.
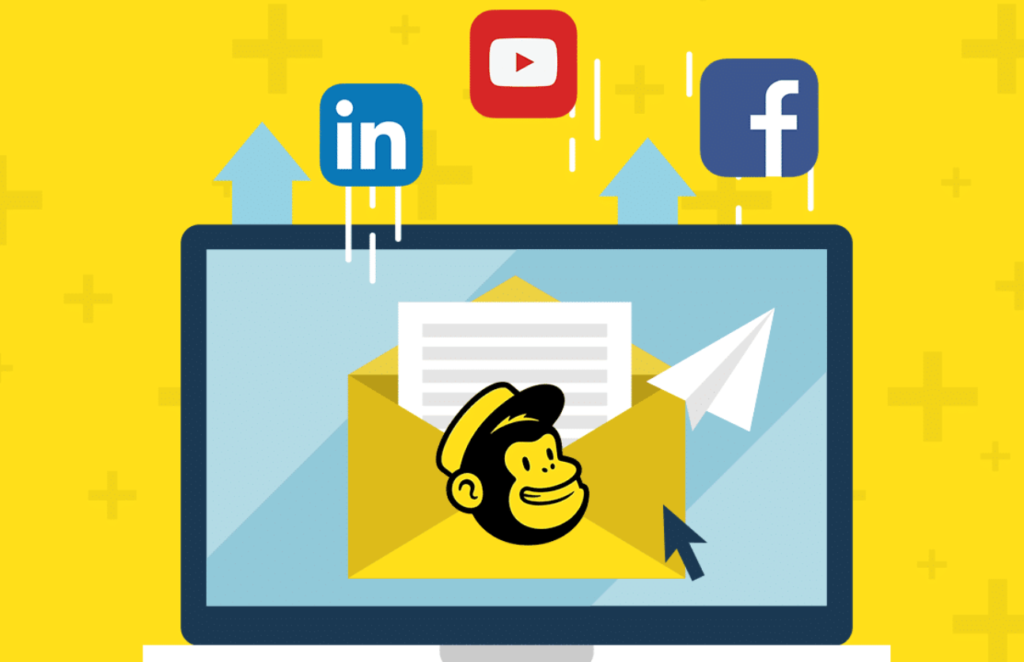
  • Use email marketing platforms such as Shopify Email or Klaviyo.
  • Add keywords to product pages, blogs, and meta titles for SEO optimization.
  • Coupons & discounts: Make promo codes to increase visitors.
  • Apps: Look through the Shopify App Store to find resources such as popups, reviews, and upsells.

Additionally, you can monitor sales, traffic sources, customer behavior, and more from your Analytics dashboard.

Promote and Grow Your Store

Final Thoughts

Even for new business owners, Shopify makes starting an online store easy. With a variety of tools, customized designs, and a simple setup, you can concentrate less on the technical aspects and more on building your brand. Shopify supports you throughout the entire process, regardless of whether you’re selling goods, downloads, or services.

Beginner’s Guide to Mailchimp: Email Marketing Made Easy

You’ve undoubtedly heard of MailChimp if you’re new to email marketing. With good reason, it’s one of the most widely used platforms available. MailChimp provides a simple method for creating, sending, and managing email campaigns, regardless of whether you are a content producer, small business owner, or someone attempting to maintain a relationship with an audience. To get you started, this guide explains the fundamentals.

What is MailChimp?

Known for its email marketing solutions, MailChimp is a comprehensive marketing platform. However, it provides more than just email; it also has features like e-commerce connectors, automation, social media scheduling, and landing pages. Nevertheless, Mailchimp’s core competency remains email marketing.

What is MailChimp

Why Choose MailChimp?

  • User-friendly interface: MailChimp’s drag-and-drop editor and simple dashboard make things simple, even for non-techies.
  • There is a free plan available: The free plan, which is ideal for new users, permits up to 1,000 emails and 500 contacts per month.
  • Pre-made templates: Simply select a template and alter it to create stunning emails without needing to be a designer.
  • Automation tools: Easily set up re-engagement campaigns, birthday offers, and welcome emails.

Setting Up Your First Campaign

  1. Register for an account by going to Mailchimp.com. It just takes a few minutes and is an easy process.
  2. Include Your Viewers: Either manually enter email addresses or import your contacts from a spreadsheet. Use contacts who have consented to receive emails from you only.
  3. Create an Email: To add text, buttons, photos, and more, use the email builder’s drag-and-drop feature. You can see a preview of your email on a desktop computer and a mobile device.
  4. Launch Your Campaign: Decide on your target audience, write a subject line for your email, and choose the send time.
  5. Examine Your Results: Mailchimp provides you with an analysis of the campaign’s performance once it is launched. To help you write better emails in the future, you’ll see open rates, click rates, and more.

Tips for Better Email Marketing

  • Keep it simple: Each email should only have one clear message or objective.
  • Employ personalization: To make your emails seem more intimate, include the recipient’s first name.
  • Divide your list into segments: Different people require different messages. Make divisions according to behavior, hobbies, or geography.
  • Test before sending: To ensure that everything appears correct and that links function as intended, always send a test email to yourself.

Tips for Better Email Marketing

Final Thoughts

For those who are new to email marketing, Mailchimp is an excellent place to start. It’s simple to use, has a ton of useful features, and develops with your company. Mailchimp provides you all the resources you need to successfully send newsletters, advertise goods, or just keep in touch.

So go ahead and register, experiment, and begin cultivating those connections, one email at a time.

How to Build a Stunning Website on Squarespace: A Step-by-Step Guide

How to Build a Stunning Website on Squarespace: A Step-by-Step Guide

Without knowing a single bit of code, anyone can create a professional-looking website with Squarespace, which is known for its beautiful templates and user-friendly interface. If you’re ready to take your brand or personal project online, here’s a comprehensive step-by-step guide to help you build a stunning website using Squarespace. Creating a website can be overwhelming, especially if you’re not a tech expert.

Sign Up and Choose a Template

The first step is to register for a Squarespace account. Go to their website, enter your email address, and start a free trial. You’ll be asked to select a template after logging in. Squarespace has a large selection of expertly created templates that are appropriate for many uses, such as creating an online business, blog, or portfolio. Spend some time looking over the designs and pick one that best suits the objectives and personality of your company. Keep in mind that templates are only places to start; you can change everything later.

Sign Up and Choose a Template

Add Essential Pages to Structure Your Website

You can start adding pages in the site editor after selecting a template. Consider your website’s structure. A homepage, a about page, a services or portfolio page, a contact page, and occasionally a blog are all common features of websites. Every page has a function, so think about the information your visitors require and the actions you want them to perform. You only need to click a button in the Pages menu to add pages, and you can rearrange them or make subpages according to your tastes.

Customize the Design to Match Your Brand

It’s time to alter the look of your website after your pages are set up. Squarespace’s Style Editor simplifies this step. You can add your logo and alter the fonts, colors, and spacing. This is your opportunity to align your brand identity with the look of your website. To keep the entire website looking the same, stick to a consistent color scheme and font selection. Upload any creative designs or expertly taken pictures you have to give your website a polished appearance. Especially for novice builders, a simple, uncomplicated layout is frequently the most effective.

Customize the Design to Match Your Brand

Add Engaging Content and Optimize for SEO

The next step after creating your design is to fill each page with content. You may add text, photos, videos, buttons, and forms using the user-friendly drag-and-drop editor. Create readable and captivating language that outlines your brand, services, and contact information. Verify that your contact details are easily accessible and that any contact forms are functioning correctly. Think about making your website search engine friendly as you add content by using pertinent keywords and crafting insightful meta descriptions.

Preview and Optimize for Mobile Devices

Preview your website on various devices, particularly mobile ones, after the content is complete. Your layout must work effectively on smaller displays because the majority of visitors will be using their phones to browse your website. Although Squarespace’s templates are responsive to mobile devices, make sure to check for formatting errors and modify content blocks as necessary.

Preview and Optimize for Mobile Devices

Connect a Domain and Publish

Lastly, a domain name is required. Squarespace allows you to link an existing domain or register a new one instantly through their platform. Go ahead and publish your website once everything is in order and you are satisfied with the outcome. Congratulations! Your stunning new website is now operational.