

Choosing the perfect VPN in 2025 can be like choosing between two blockbuster hits: Both are excellent, but which one best suits your needs? If you’re deciding between NordVPN and ExpressVPN, you’re not alone. These two have been at the forefront of the VPN battle for years, and while they have some similarities, the distinctions are significant, depending on what you’re looking for.
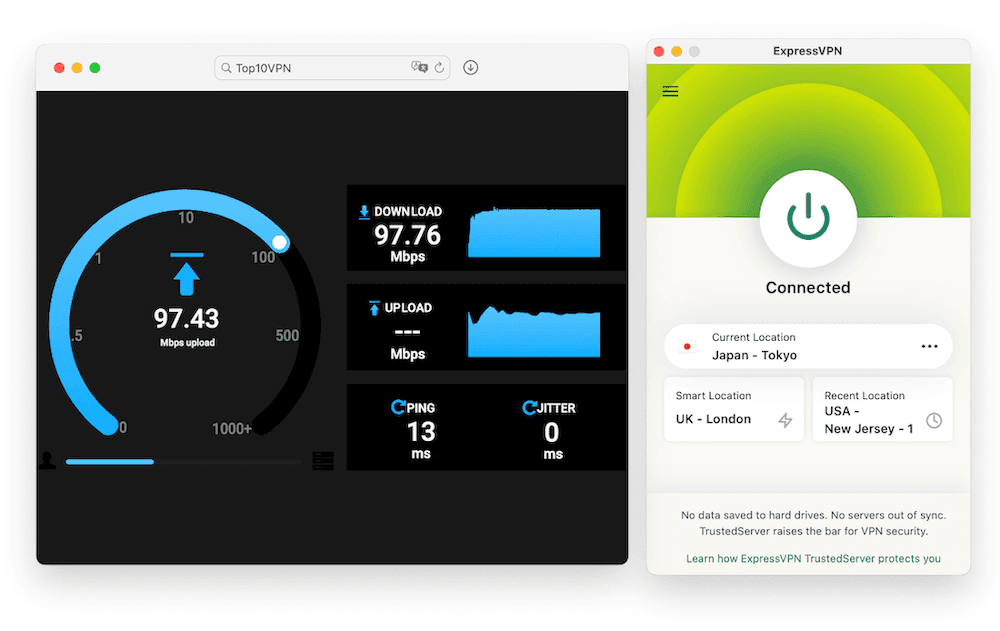
Speed and Performance
Let’s begin with speed because no one wants a VPN that slows everything down. NordVPN has a significant advantage here because of its NordLynx protocol. It’s based on WireGuard and tuned for lightning-fast performance. Whether you’re streaming 4K, downloading huge files, or gaming online, it performs admirably. ExpressVPN uses its own Lightway protocol, and while it’s seamless and dependable, NordVPN is usually faster, especially when connecting to servers farther away.
Privacy and Security
NordVPN and ExpressVPN take data security very seriously. They use AES-256 encryption and have strong no-log standards. NordVPN goes above and beyond by offering features such as Double VPN, Onion over VPN, and Threat Protection, which actively prevents trackers and harmful websites. ExpressVPN keeps everything neat and simple, focused on performing the fundamentals exceptionally well. Both are headquartered in privacy-friendly jurisdictions—Panama for Nord and the British Virgin Islands for Express—so your data is secure and out of reach.
Streaming and Unblocking
If you want to unblock Netflix or stream BBC iPlayer from anywhere, any VPN is a fantastic choice. ExpressVPN is known for its high level of consistency when it comes to streaming. You rarely need to switch servers to find one that works. NordVPN also handles streaming effectively, though it does take some trial and error to find the ideal server. Once you’re in, the experience is seamless, with no buffering or pauses.
User Experience
ExpressVPN excels when it comes to simplicity. The app is simple, user-friendly, and does the job without making you think too much. It’s ideal for those who simply want to press a button and feel safe. NordVPN, on the other hand, has a more extensive feature set. Its UI is more complex, which is wonderful if you prefer having more control over your settings, but it may take some time to adjust if you’re new to VPNs.
Pricing and Value
This is where NordVPN stands out for many people. It is more economical, especially if you commit to a longer-term plan. The company frequently offers promotions that provide additional months for free, making it a sound investment. ExpressVPN’s pricing is obviously on the expensive side. You spend a little more for a smoother experience but not necessarily for additional features.
Final Thoughts
Overall, NordVPN and ExpressVPN are excellent picks. If you’re looking for speed, advanced features, and better value for money, NordVPN is undoubtedly the superior option. However, if you like simplicity, consistency, and high-quality streaming performance, ExpressVPN will not disappoint. It depends on what is most important to you.