
You have likely heard of CorelDRAW if you’re new to the graphic design field. It’s one of those names that frequently appear next to Photoshop and Adobe Illustrator. However, as a novice, you may question whether CorelDRAW is truly worth studying. Let’s examine it more closely.
What is CorelDRAW?
Corel Corporation created the vector graphics editor CorelDRAW. It is renowned for having strong features for professional use while remaining user-friendly for beginners. With the help of CorelDRAW, you may realize your creative visions for logos, flyers, social media graphics, and even product packaging.

Ease of Use for Beginners
CorelDRAW’s user-friendly interface is one of its greatest advantages. CorelDRAW displays capabilities in a rational and understandable manner, in contrast to certain graphic design applications that might feel overwhelming right away. For novices who are just starting, there are integrated tutorials, a comprehensive help center, and pointers that appear as you work.
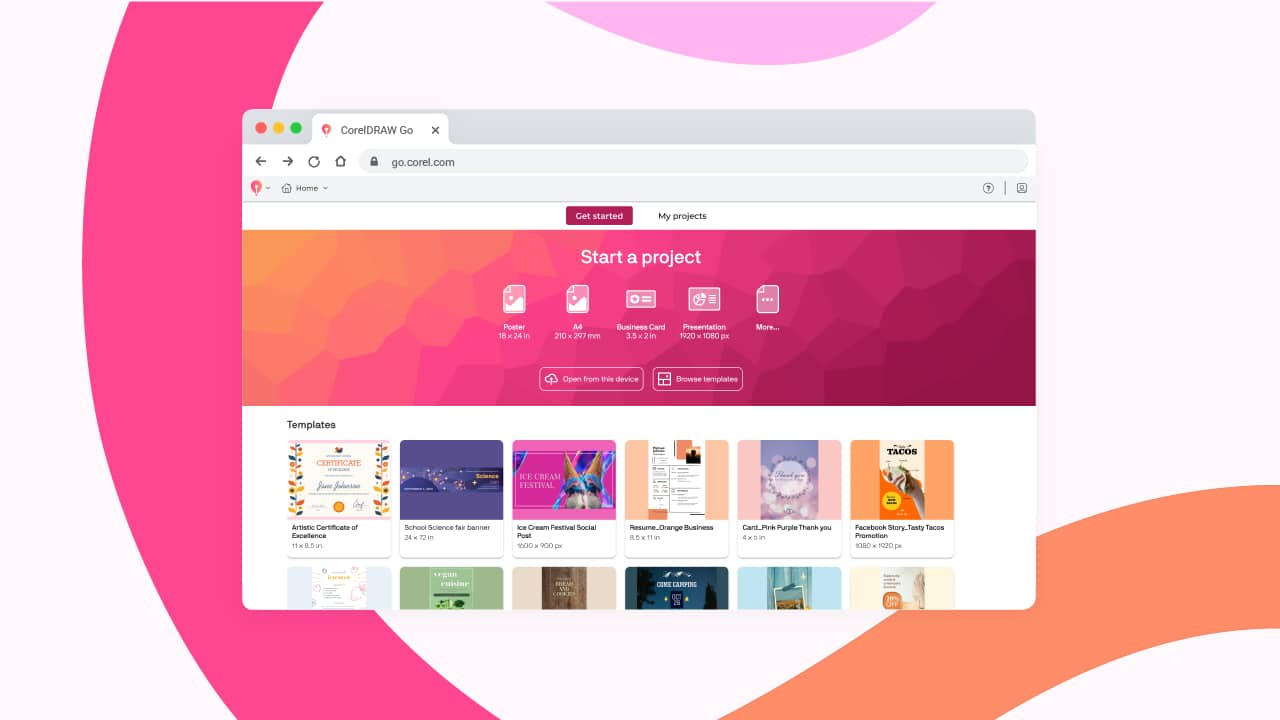
To help you get started, the software also includes a large number of templates, graphics, and fonts. If you’re a hands-on learner, you’ll love how easy it is to jump right into real design work without getting lost.
Key Features That Stand Out
- User-Friendly Tools: CorelDRAW has intelligent drawing tools that can help novice users by automatically transforming their ideas into ideal shapes.
- Workspace Customization: Whether you want everything in view or prefer simple toolbars, you may change the arrangement to fit your preferred working style.
- Broad File Compatibility: CorelDRAW can work with a variety of file formats, which facilitates import/export tasks and teamwork.
- Cost-effective One-Time payment Option: CorelDRAW offers you the option to make a one-time payment, which may end up being more economical in the long term than Adobe’s subscription-only business model.
Any Drawbacks?
Although CorelDRAW is excellent for novices, it has several peculiarities. When working with really large files, some users find it to be a little slow. Additionally, you may eventually need to learn Illustrator if you intend to work in fields like publishing or high-end marketing that rely heavily on Adobe products.
But without the high learning curve, CorelDRAW provides all you need for hobbyists, small company owners, and freelancers.
Final Verdict: Is It Worth It?
Consider CorelDRAW if you’re a novice searching for an easy-to-use, feature-rich design application. It provides a mild learning curve, useful tools, and sufficient flexibility to advance alongside you as your abilities advance. Additionally, purchasing the software directly may end up saving you money in the long run.
In summary, CorelDRAW is a wise and valuable option if you want a solid foundation in graphic design without feeling overpowered right away.