
So guys, if I talk about trending laptops of 2026, these laptops have an OLED screen with an ultra-long battery, a stylish design suitable for students, creators, gamers, or professionals, suitable for everyone in this blog, you know their features, trending models, and highlights.
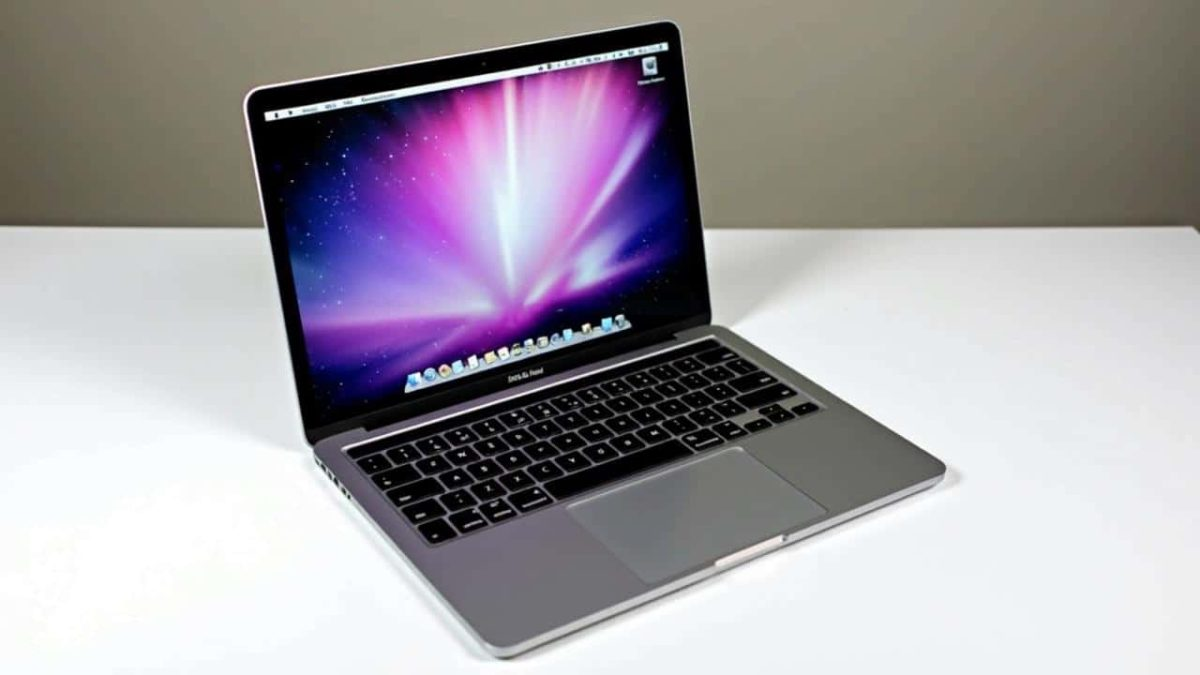
1. Apple MacBook Neo:
The Apple MacBook Neo is one of the most prevalent tablets of 2026. Utilizing Apple’s A‑series chips, it equates execution with long battery life, ideal for students and regular clients. The smooth plan and lightweight construct make it profoundly versatile. macOS integration guarantees smooth workflows and app biological system benefits. It’s perfect for web browsing, media, archive work, and casual inventive assignments. This portable workstation is the best choice for value-conscious Apple fans.
Key Features:
- Apple A18 Master chip for smooth performance
- macOS environment integration
- Lightweight and convenient design
- Long battery life
- Perfect for efficiency and media tasks
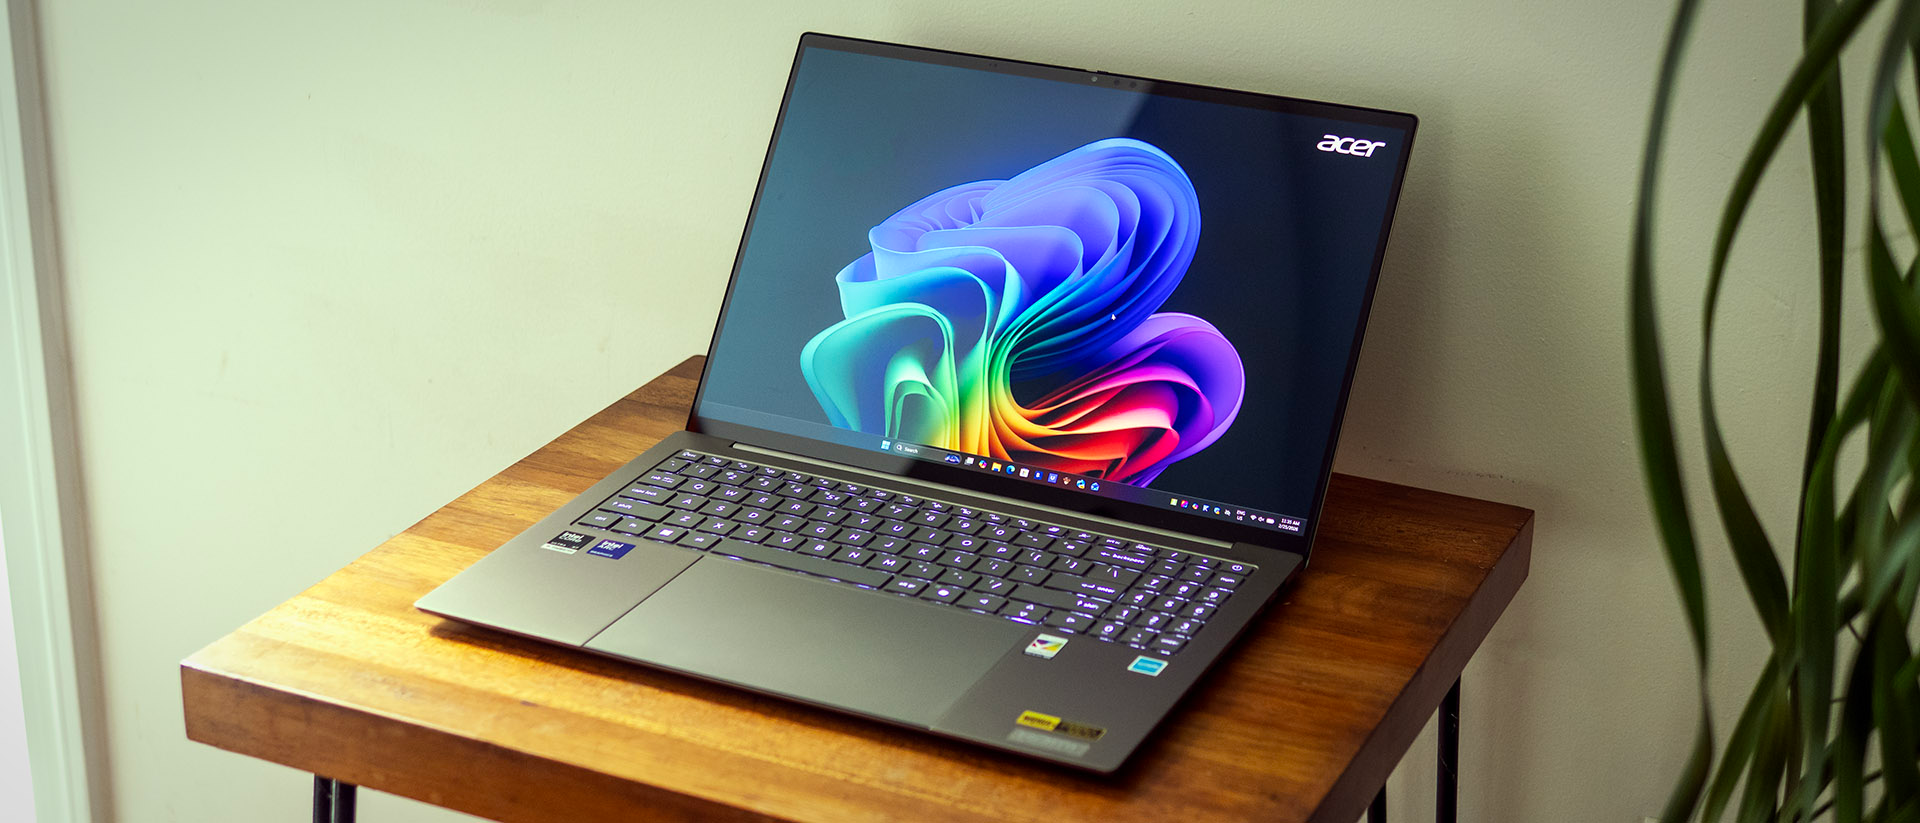
2. Acer Quick 16 AI:
Acer Quick 16 is designed by an AI laptop. Its size is 16 inches with 3k OLED, its colors and design. If we talk about its touchpad, it runs smoothly and is fueled by ultra processors, it works well. The construct is premium with broad network choices. It’s ideal for planning, substance creation, and cross-functional work environments.
Key Features:
- Intel Center Ultra processor
- 16″ 3K OLED show, 120 Hz
- Haptic touchpad with stylus support
- Premium construct with numerous ports
- AI-optimized performance
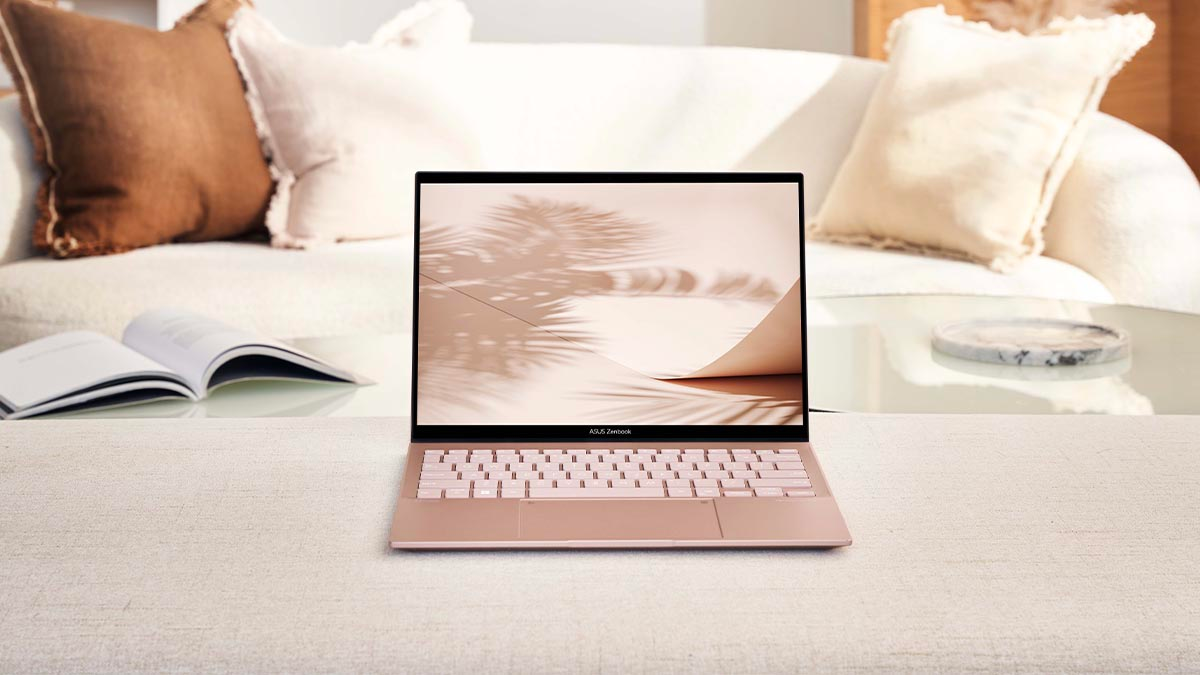
3. ASUS ZenBook S 13 OLED (UM5302)
ASUS ZenBook S 13 OLED is a good laptop for 2026 and is in high demand. Its screen is so smooth and has good visibility. This laptop is good for all kinds of users, like professionals and also student gamers if you use it so you use its multiple things. Its OLED size is 13.3, with solid battery life, not too much weight, so easy to carry.
Key Features:
- 13.3″ 2.8K OLED display
- AMD Ryzen 7 or proportionate performance
- 16 GB Smash, 1 TB SSD
- Lightweight and portable
- Great battery and construction quality
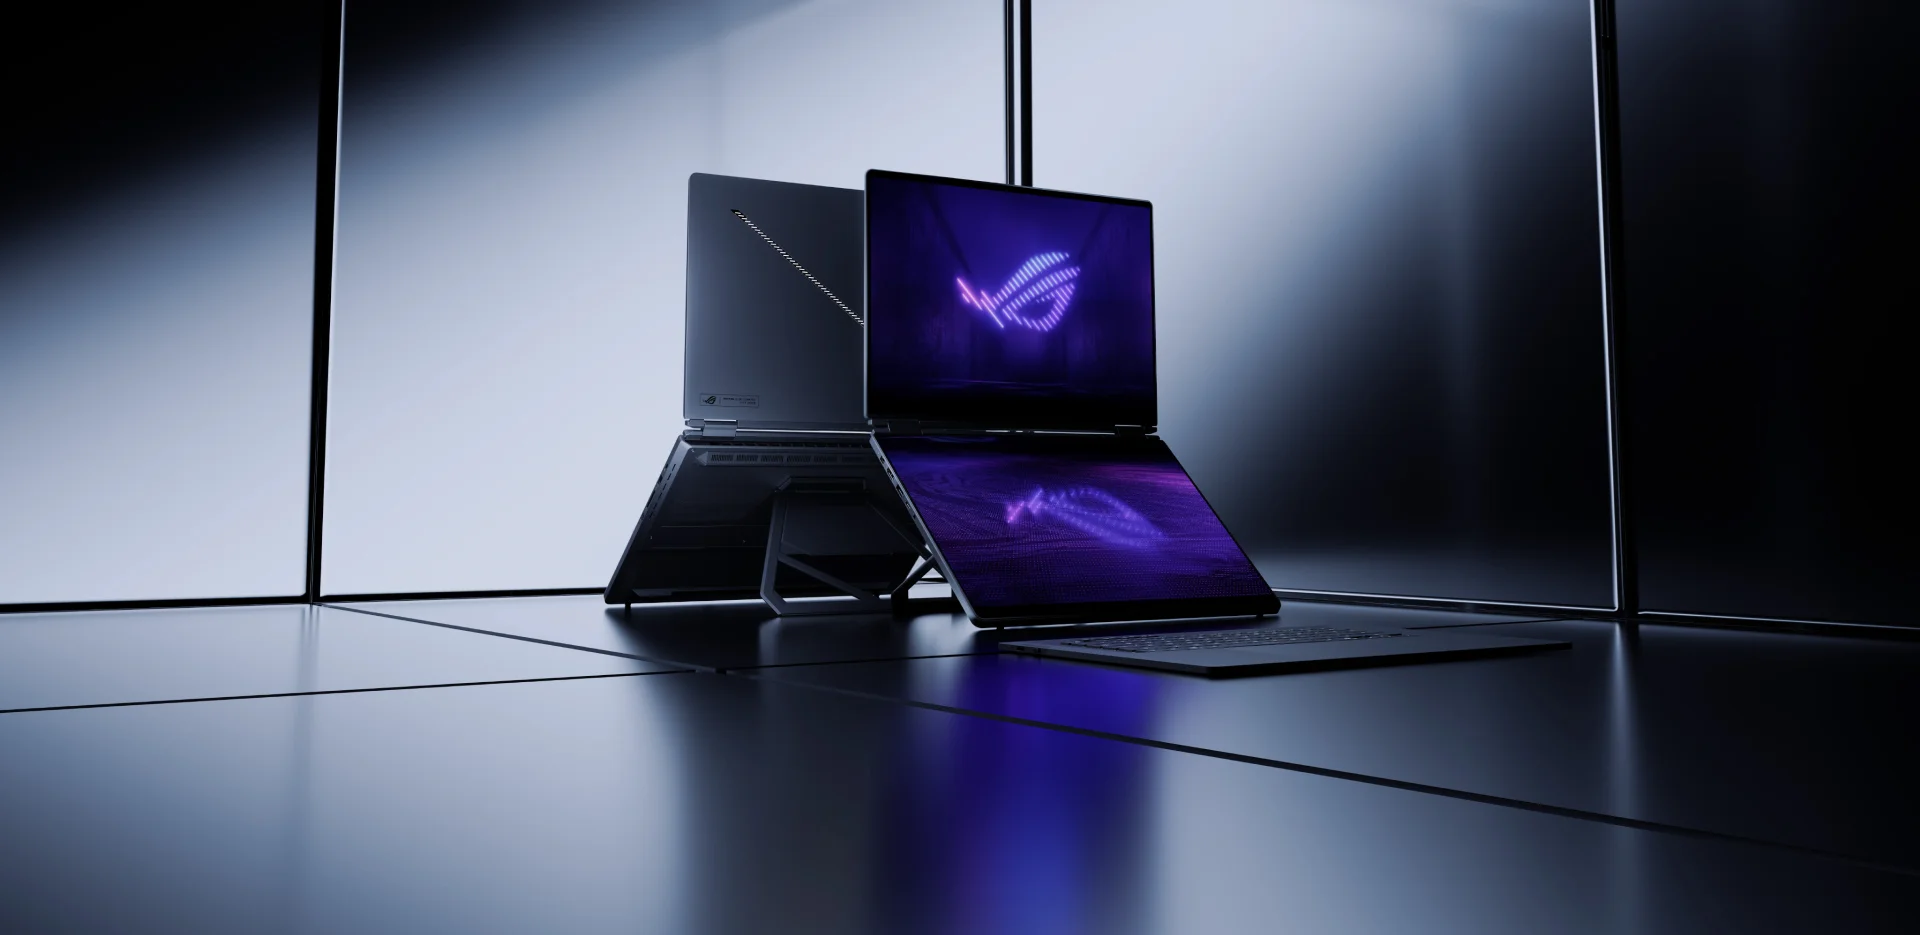
4. ASUS ROG Zephyrus G14 (2026)
The ASUS ROG G14 is good for all kinds of work with a good design. Its 14-inch shape figure keeps it versatile for gamers and makers. Long battery life and solid execution make it profoundly flexible. This demonstrates one of the most trending tablets for gaming and efficiency in 2026.
Key Features:
- Devoted GPU for gaming and imaginative work
- High-refresh OLED display
- Lean and convenient frame factor
- Progressed cooling system
- Perfect for gaming and substance creation
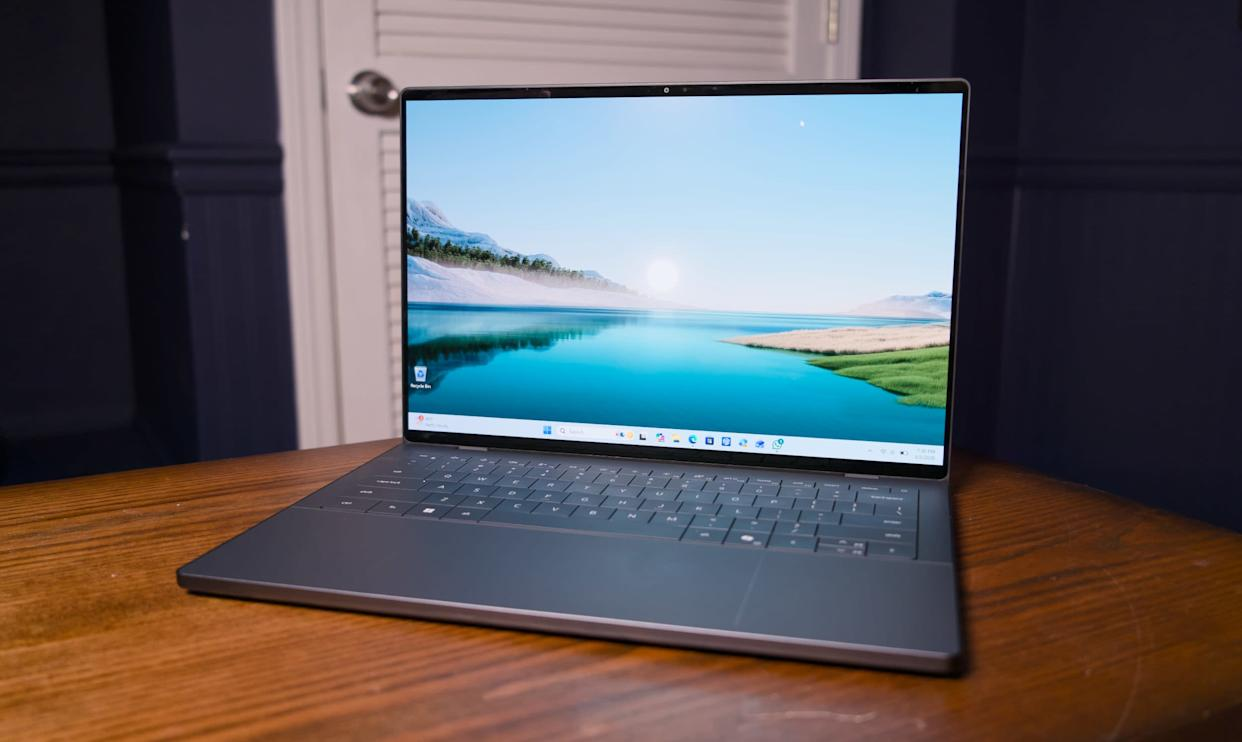
5. Dell XPS 14 (2026)
Dell XPS 14 works well and runs smoothly with good design and an amazing color combination. This laptop handles hard work and software easily without creating any problems. Tall Slam and capacity choices make it future-proof. It equalizations movability with execution for inventive and commercial tasks.
Key Features:
- Premium construct with amazing warm design
- OLED shows with exact colors
- Tall Smash and capacity options
- Maintained tall performance
- Idealize for makers and professionals
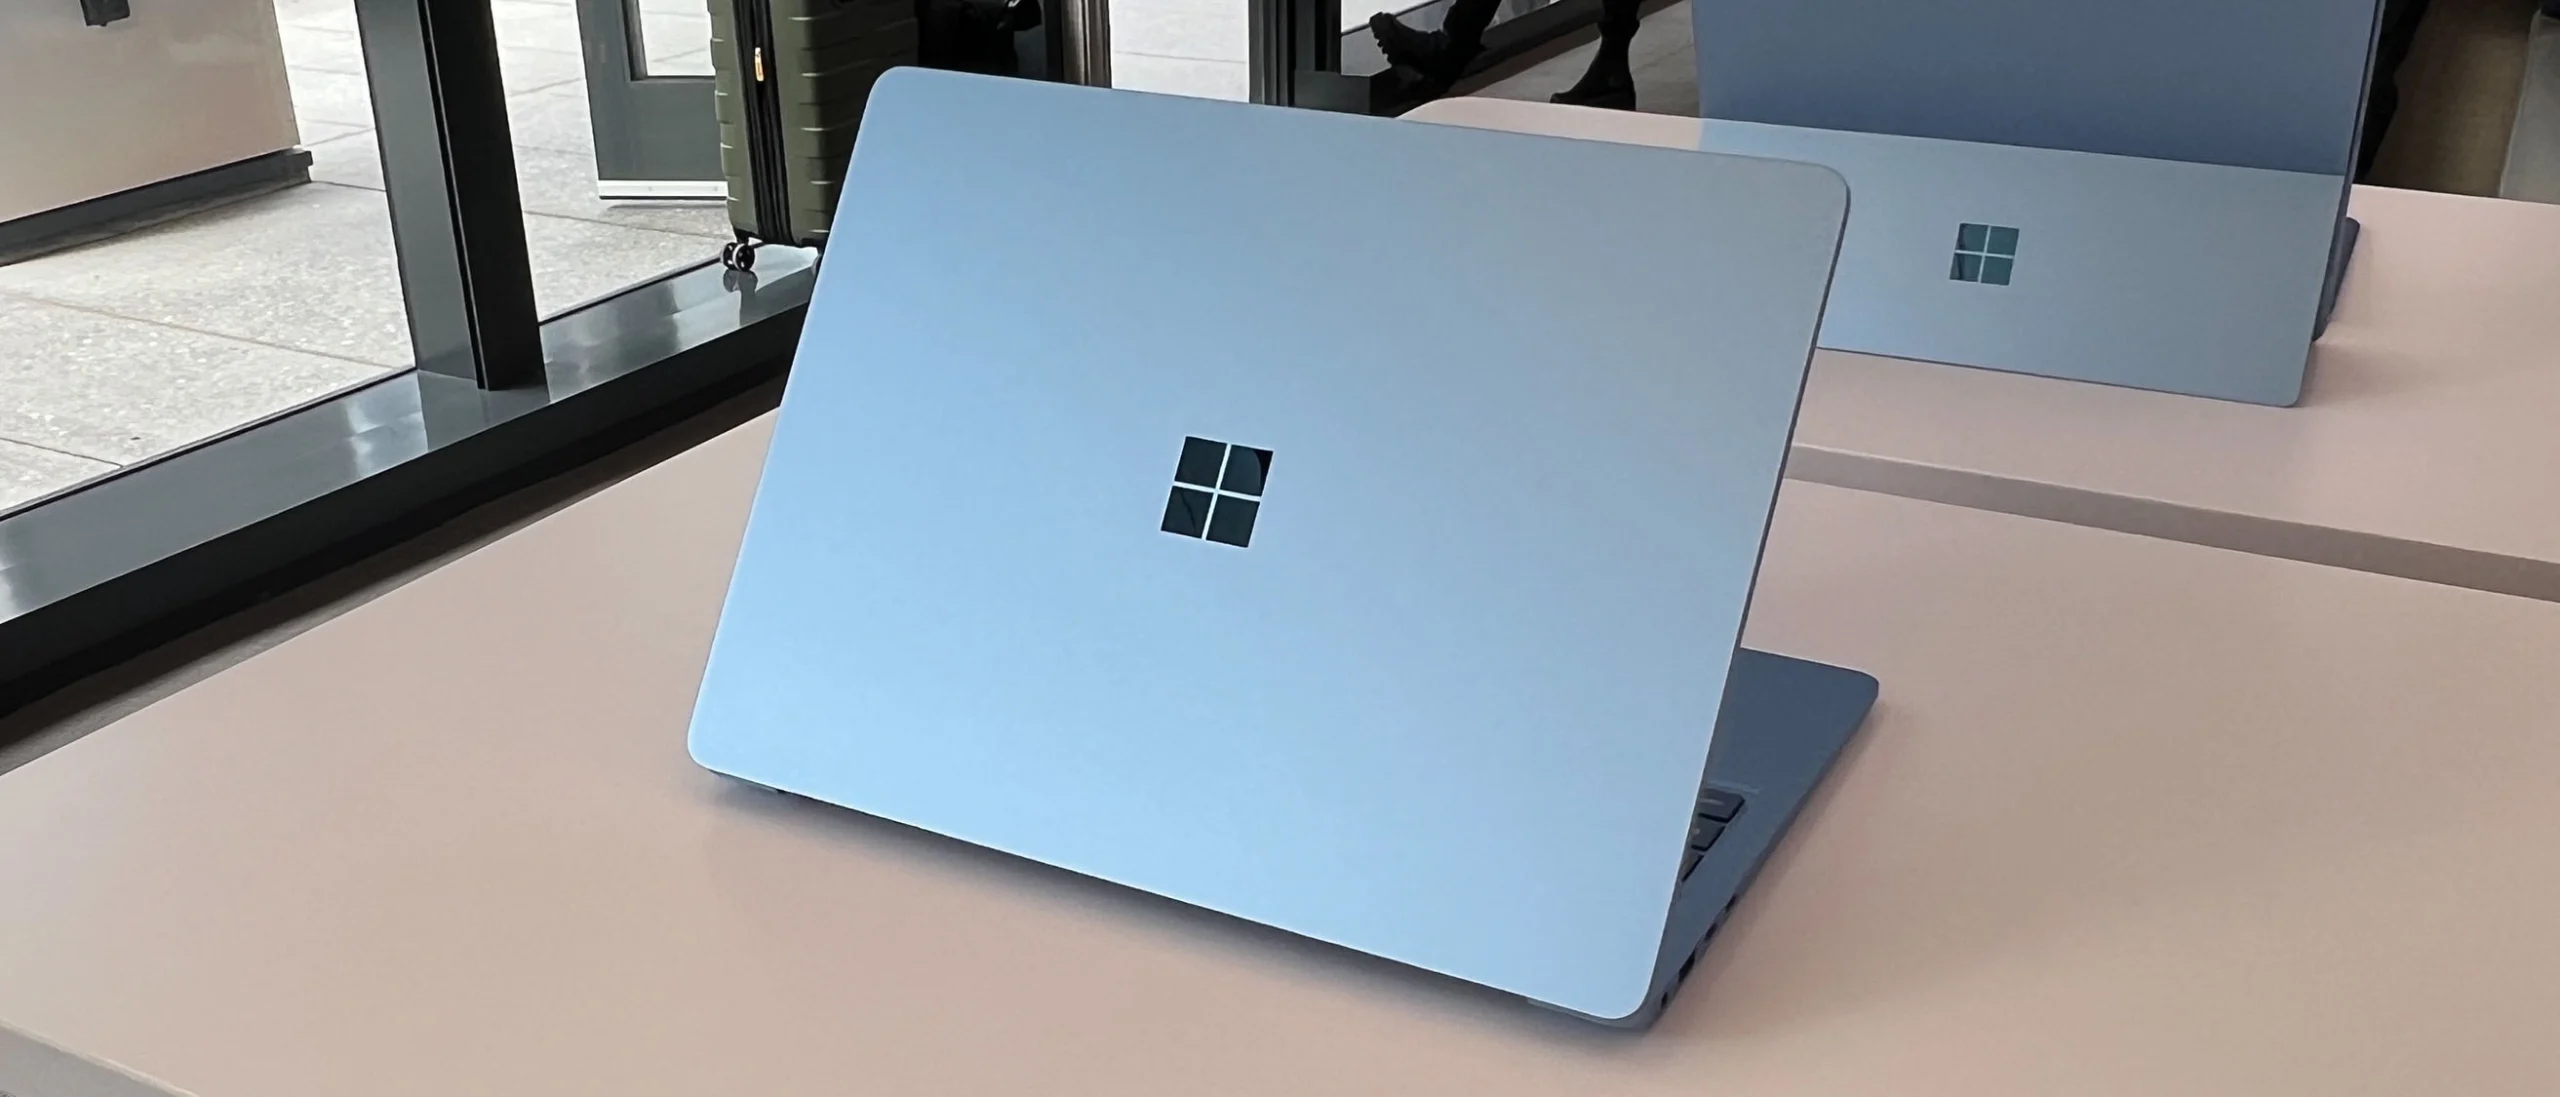
6. Microsoft Surface Portable workstation 7 (15-inch)
The Microsoft Surface Portable workstation 7 is a beat productivity-focused gadget. Its Snapdragon-based design empowers long battery life, whereas Copilot+ AI highlights make strides in workflows. A high-resolution 15-inch show improves seeing encounter, and the plan is smooth and moderate. It is perfect for students, experts, and crossover laborers. Its mobility and AI bolster make it a favorite in 2026.
Key Features:
- Snapdragon X First-class processor
- Copilot+ AI-enhanced Windows features
- 15″ high-resolution display
- Long battery life
- Smooth and lightweight design
Conclusion:
In 2026, the most trending tablets combine AI-ready execution, dynamic OLED displays, long battery life, and portability. From Apple MacBook Neo for regular clients to Acer Quick 16 AI for makers, ASUS ROG Zephyrus G14 for gaming, and Dell XPS 14 for experts, there’s a portable workstation for each requirement. Efficiency, inventiveness, and gaming all benefit from the next-generation equipment and shrewd highlights. Choosing the right tablet presently implies looking at execution, portability, AI support, and show quality — guaranteeing your gadget is future-proof and suited to your workflow.