
Making movies of a high caliber doesn’t have to be difficult or time-consuming. Anyone, from marketers to content producers, can create engaging and conversion-boosting films with Veed’s user-friendly online video editing platform. Veed streamlines and eases the process of creating tutorial videos, promo reels, and social media material. Here is a basic, step-by-step guide to get you going.
Step 1: Sign Up and Start a New Project
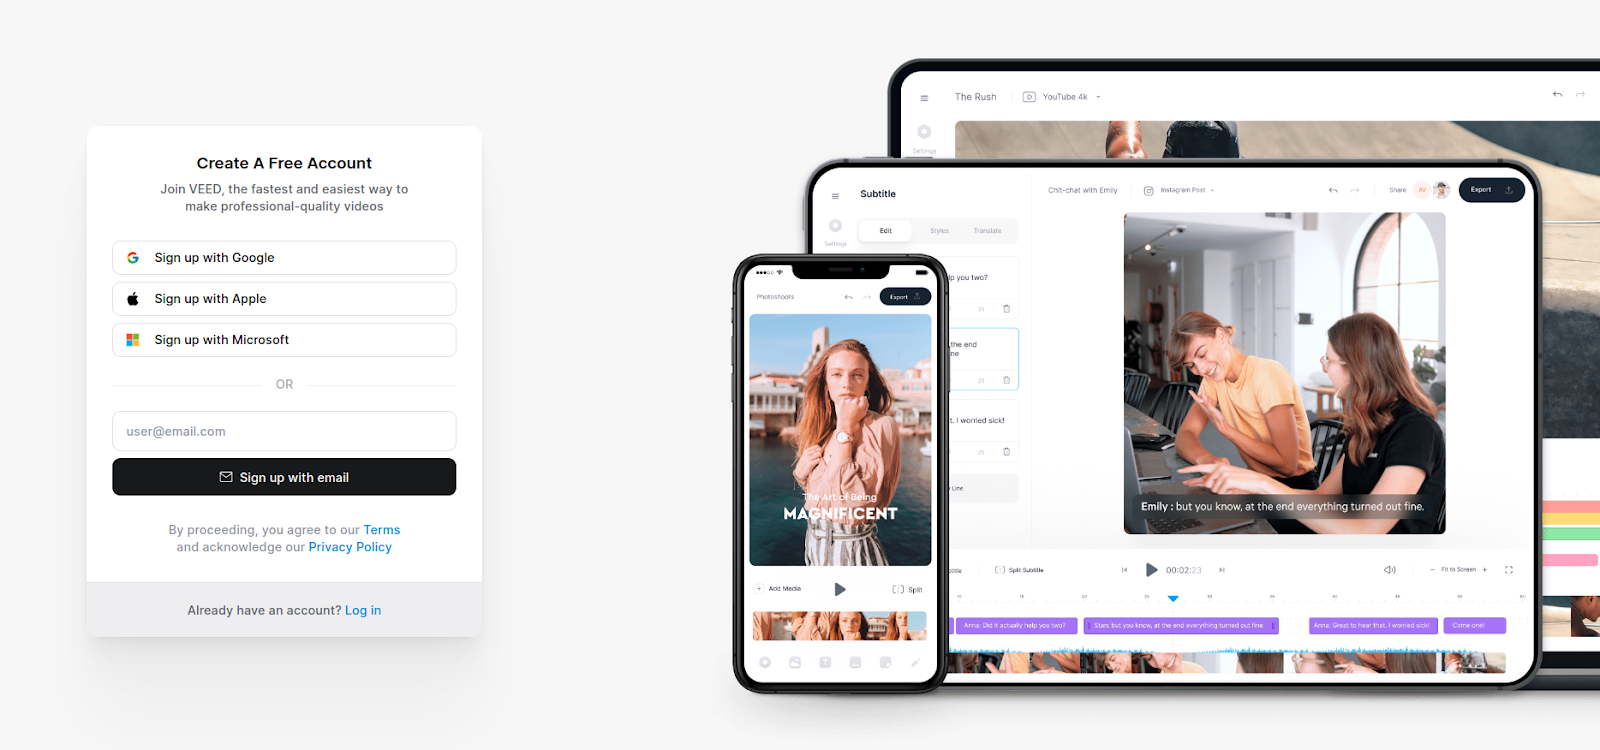
Go to Veed.io and create a free account to get started. Click the “New Project” option after logging in. You have the option of starting from scratch or using one of Veed’s pre-made templates, which are excellent for gaining ideas and saving time.
Step 2: Upload or Record Your Video
Direct uploading of media files from your device or cloud storage is possible. Among the many formats that Veed supports are MP4, MOV, AVI, and others. If you don’t have any footage yet, you can record your video right away with Veed’s webcam and screen recording features. This is particularly helpful for reaction videos, walkthroughs, and tutorials.
Step 3: Customize and Edit
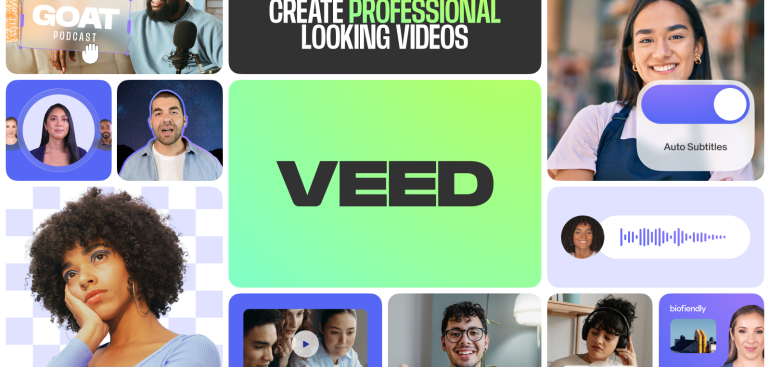
Once your footage is uploaded, the real magic begins. Veed’s user-friendly timeline editor allows you to:
- Trim, cut, and split clips
- Add subtitles (manually or using AI-powered auto-subtitling)
- Insert text, images, logos, and emojis
- Choose from music tracks or upload your audio
- Apply filters, transitions, and effects
Technical expertise is not required to organize elements thanks to the drag-and-drop feature. Additionally, you may change the size of your videos to fit other networks, such as LinkedIn, YouTube, Instagram, and TikTok.
Step 4: Use AI Tools for Fast Video Creation
Video production can be accelerated with Veed’s AI-powered tools. For instance, you can utilize the text-to-speech function to add voiceovers in various languages and dialects, or the AI script generator to create an engaging script. These tools are excellent for turning text-based content, such as blog articles or newsletters, into videos or for repurposing content.
Step 5: Export and Share
Click “Export” to finish processing your video once it appears perfect. Depending on your preferences, you can select from a variety of resolutions, including HD and Full HD. Once the video has been exported, you have the option to download it, share it using a link, or post it straight to social media from the Veed dashboard.
Final Thoughts
Regardless of editing experience, Veed enables anyone to create videos. It’s the ideal tool for companies, schools, and artists wishing to create a powerful visual effect because of its easy-to-use interface, AI features, and versatile export possibilities. Why wait, then? Start making videos that communicate your narrative the way you want it to be told by going to Veed.io.