When it comes to launching an internet business, Shopify is among the most dependable and straightforward platforms. Shopify provides all the tools you need to create, run, and expand your online store, regardless of whether you’re selling tangible goods, digital downloads, or services. However, how precisely do you use Shopify? Let’s dissect it in detail.
1. Sign Up and Choose Your Plan
To begin, click “Start Free Trial” on Shopify.com. After entering your email address, password, and store name, you will be prompted to create an account. You may test out Shopify for three days for free after you sign up.
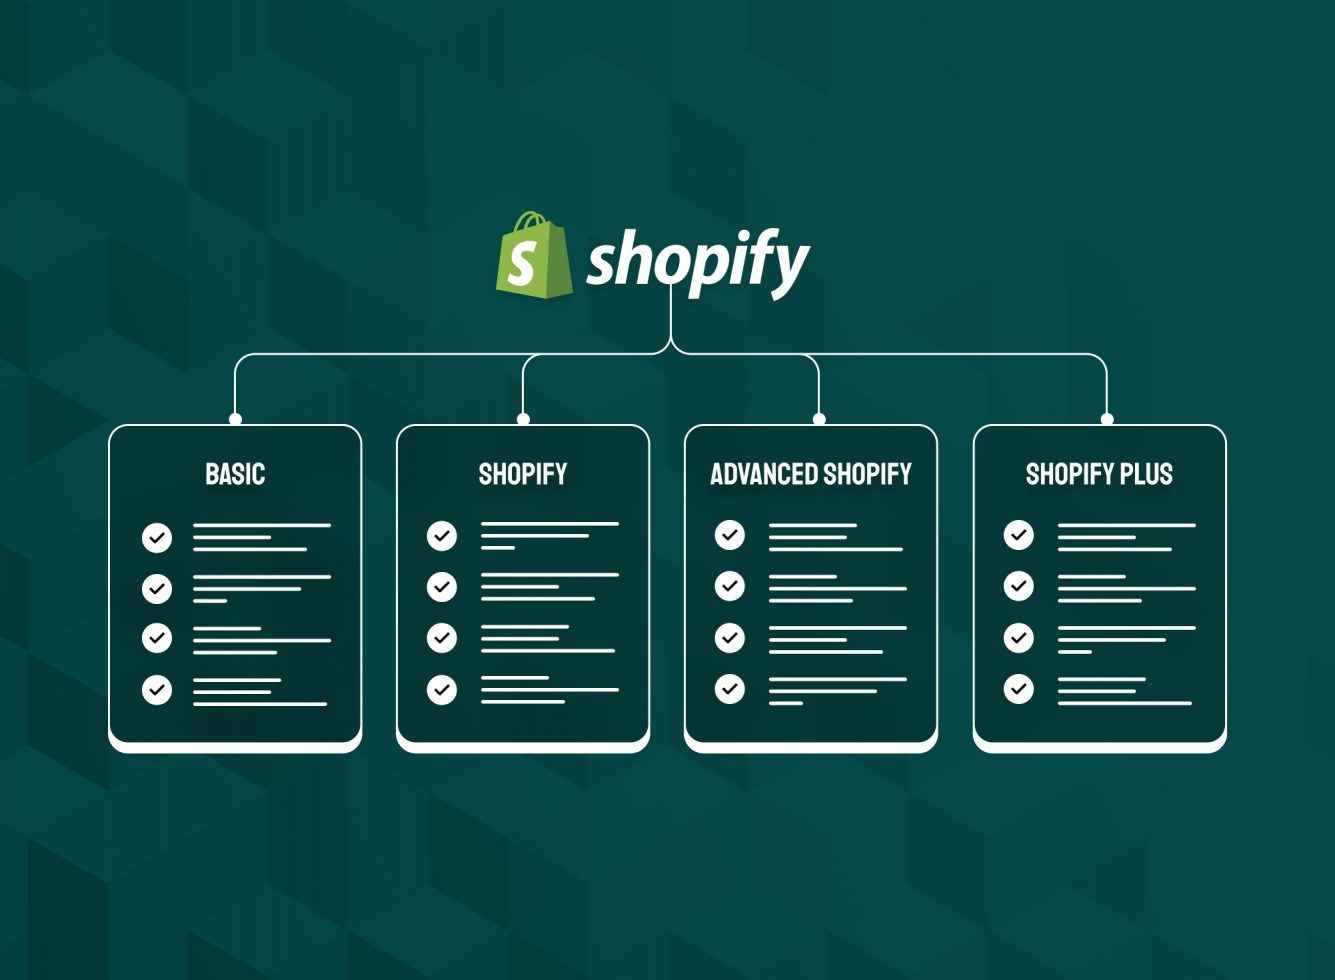
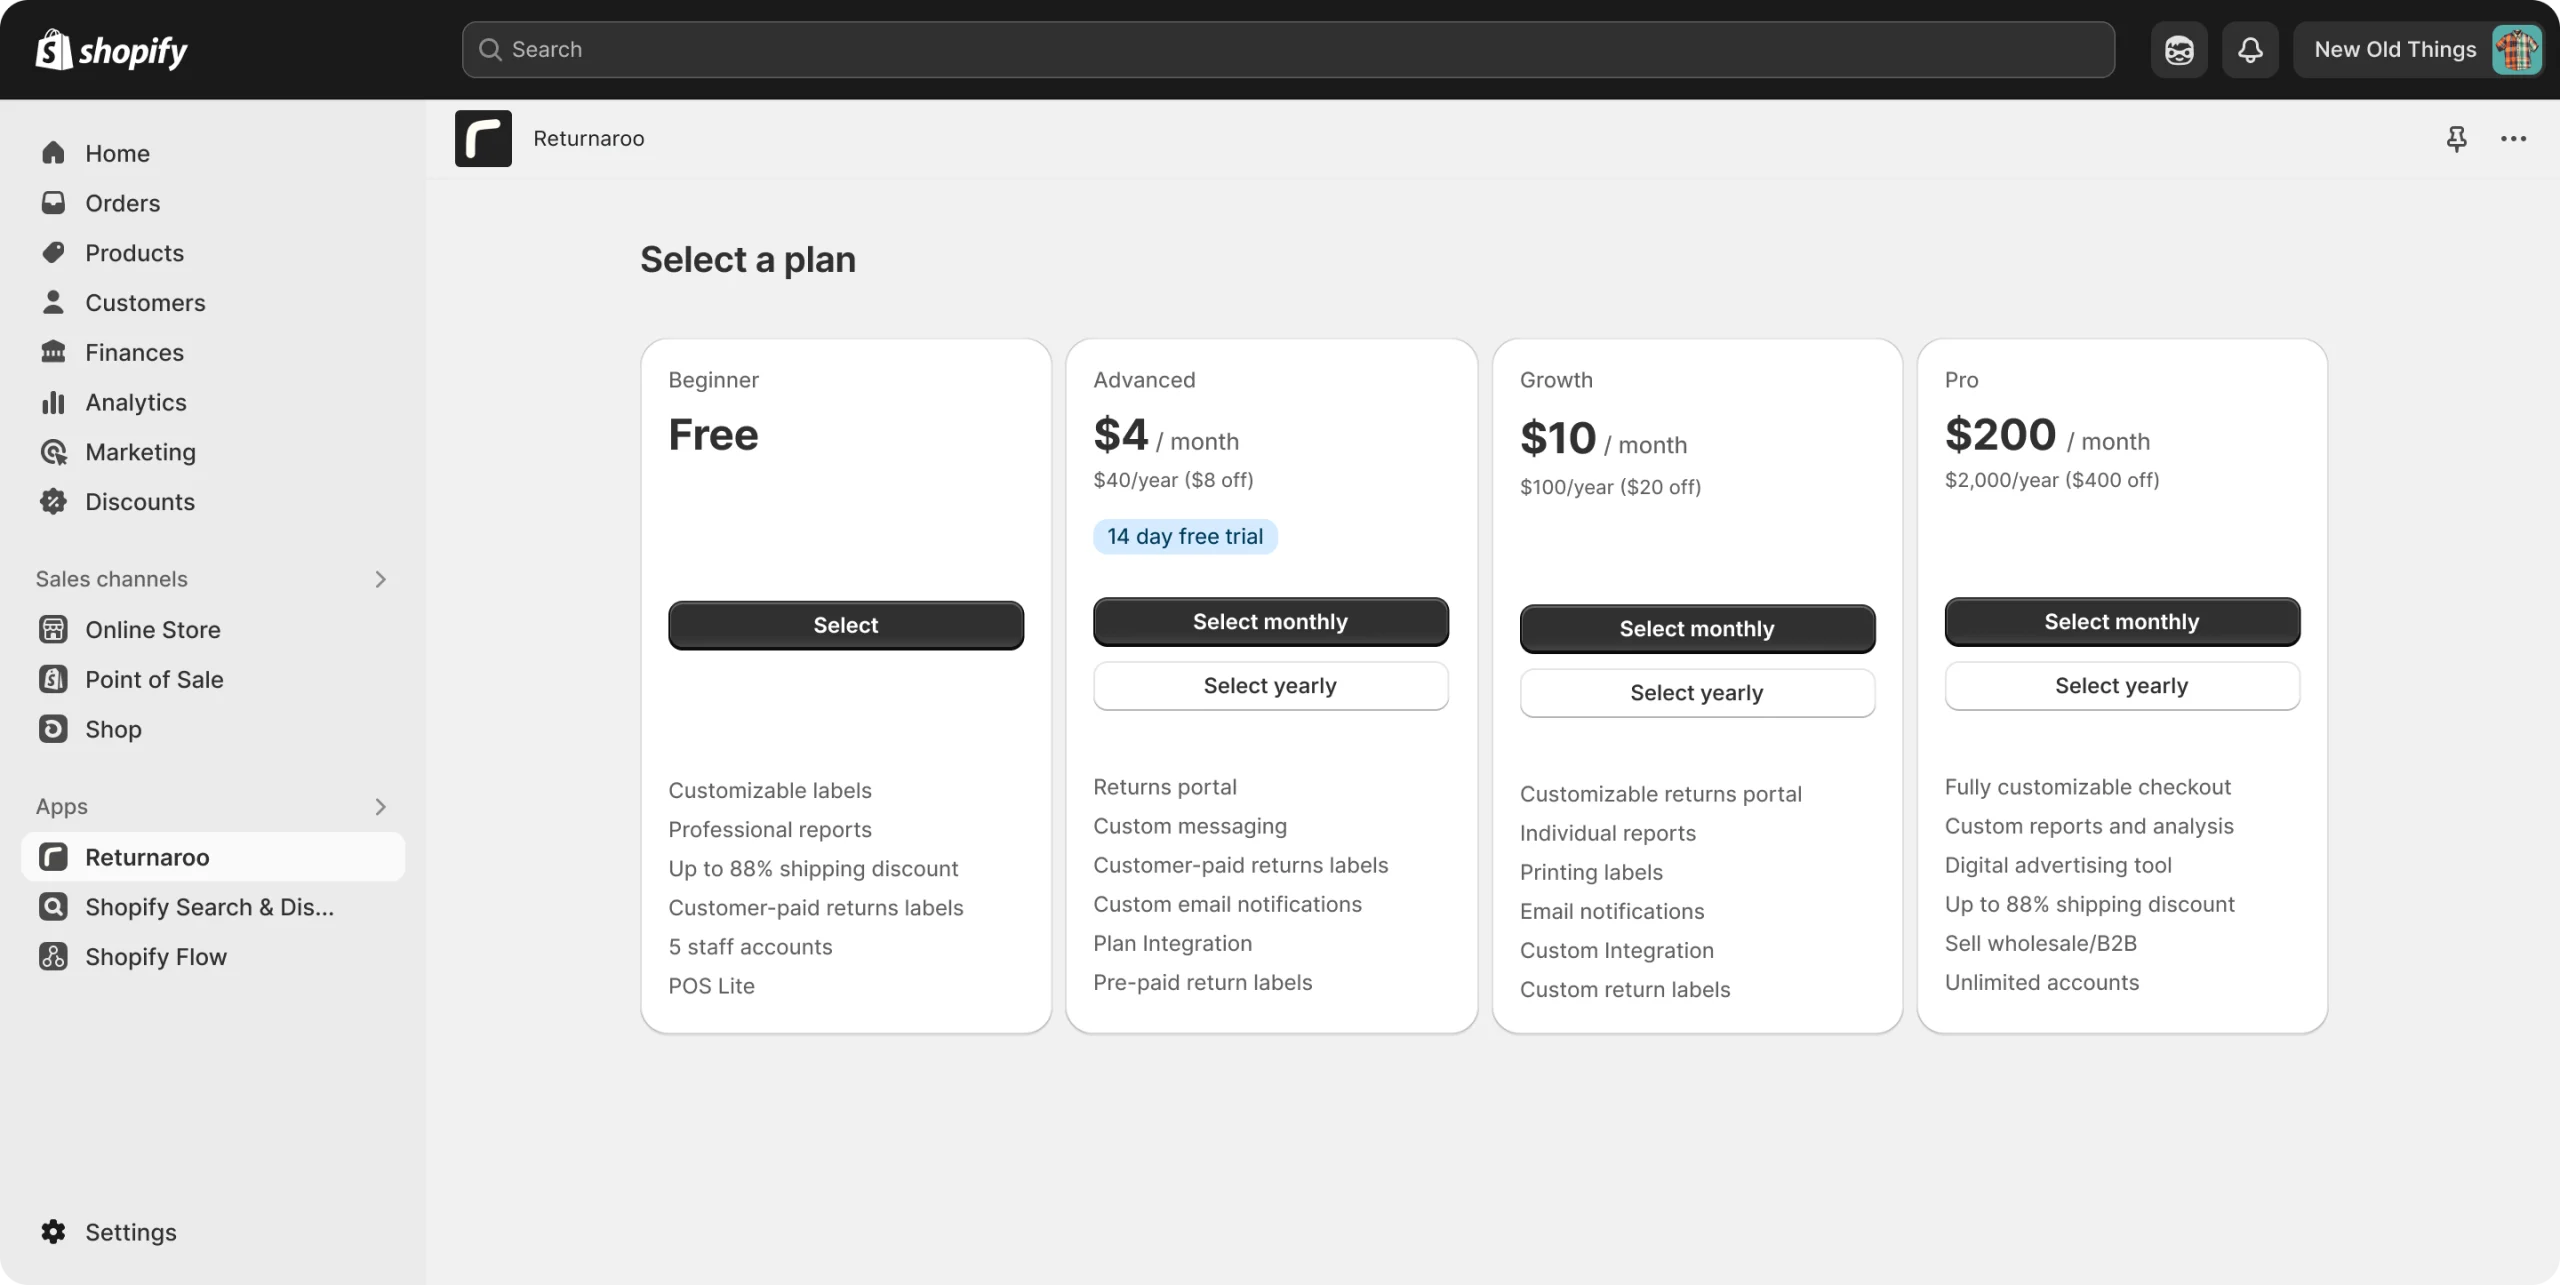
You will have to decide on a plan following the trial. A website, blog, product listings, and access to Shopify’s app store are just a few of the important tools that come with the Basic plan, which is ideal for starting businesses.
2. Pick a Theme and Customize Your Store
The appearance and feel of your store are important, and Shopify makes it simple with a range of free and premium themes. Visit Online Store > Themes and look through their collection. Select a theme that reflects the aesthetic of your brand, whether it be bold, minimalist, modern, or whimsical.
On “Customize,” the theme editor will open. You can alter the header and footer settings, navigation menus, banners and slideshows, colors and fonts, and homepage layout. Since everything is drag-and-drop or form-based, you don’t need to know how to code.
3. Add Your Products
It’s time to stock your store now! Click Add product in the Products section. What you will add is as follows: Headline: The product’s name, emphasize the salient features and advantages. Images: Make use of excellent product Photographs, Pricing: Decide on a selling price. Inventory: Keep tabs on stock (for tangible goods), Shipping: If necessary, include dimensions or weight.
Uncheck the “This is a physical product” box and utilize the free Digital Downloads app to distribute files instantly after a purchase if you’re selling digital goods (such as PDFs or videos).
4. Set Up Payments and Shipping
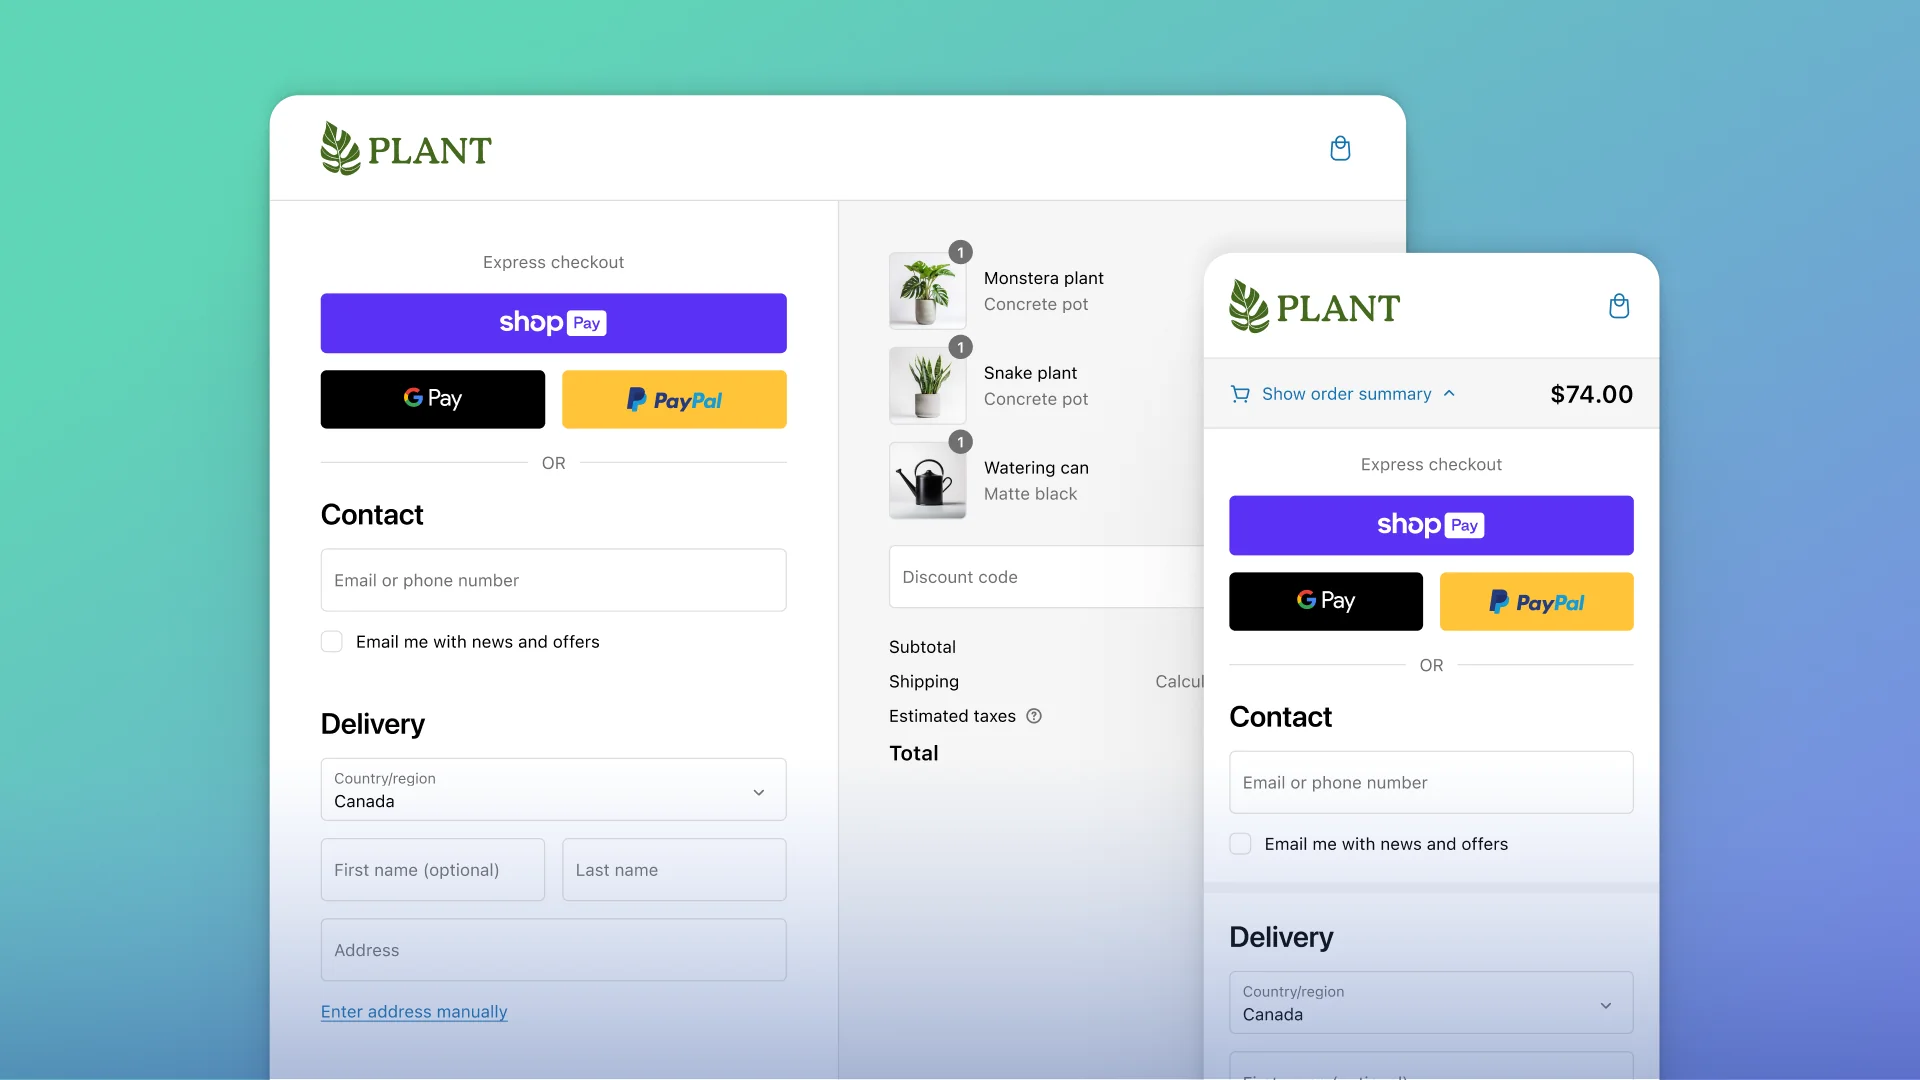
Select your method by going to Settings > Payments. The simplest choice is Shopify Payments, which enables you to take credit and debit cards without incurring any costs from third parties. Additionally, you can enable manual payments like cash on delivery or bank deposits, as well as PayPal, Apple Pay, and Google Pay.
To configure zones, charges (flat, free, or carrier-calculated), and handling times for shipping, select Settings > Shipping and Delivery. If you cater to a certain area, you can additionally provide local delivery or pickup choices.

5. Buy a Domain and Launch Your Store
Your store needs a custom domain to look professional. You can buy one directly through Shopify or connect an existing domain. A good domain should be short, brandable, and easy to remember.
Once your domain is set, go to Online Store > Preferences and remove the password protection. Your store is now live to the world!
6. Promote and Grow Your Store
Launching is just the beginning. Make use of Shopify’s integrated marketing capabilities to draw in and keep clients. The following are some tactics:
- Social Media Integration: Make sales on TikTok, Instagram, and Facebook.
- Use email marketing platforms such as Shopify Email or Klaviyo.
- Add keywords to product pages, blogs, and meta titles for SEO optimization.
- Coupons & discounts: Make promo codes to increase visitors.
- Apps: Look through the Shopify App Store to find resources such as popups, reviews, and upsells.
Additionally, you can monitor sales, traffic sources, customer behavior, and more from your Analytics dashboard.

Final Thoughts
Even for new business owners, Shopify makes starting an online store easy. With a variety of tools, customized designs, and a simple setup, you can concentrate less on the technical aspects and more on building your brand. Shopify supports you throughout the entire process, regardless of whether you’re selling goods, downloads, or services.


